Table of Contents
In this article, you’ll learn How to Show Hidden Files on a Mac. Hidden files on your Mac contain the nuts and bolts necessary for running your Mac’s essential functions, such as its operating system and cache storage. These files are intentionally kept out of view, because accidentally deleting or modifying them can cause performance issues. However, there are times when you might want to access hidden files, such as when troubleshooting issues or cleaning your Mac.
2 ways to view hidden files on Mac
Hidden Mac files include system files, configuration files, and cache files, and make up other storage and system data on your Mac’s hard drive. You can reveal hidden files on macOS via the ~/Library folder. But you shouldn’t modify your hidden Mac files unless you know what you’re doing, because deleting the wrong files might negatively affect the performance of your device or weaken its security.
If you’re ready to take a peek behind the scenes of your computer, here are a few ways to show those hidden Mac files.
Method 1: Use Finder
Using Finder is the simplest way to find hidden files on your Mac. Here’s how to do it:
- Click the Finder icon in your dock to open Finder.

- Navigate to the folder where you want to find hidden files.
- Press Command + Shift + . (the period key). This will show hidden files in the folder.
- To hide the files again, press Command + Shift + . again.
You can also click your desktop and press Command + Shift + . to show hidden Mac files on your desktop.
Method 2: Use Terminal
You can also use the Terminal app to show the hidden files on your Mac. But this method is a bit more technical. Terminal allows you to manually input commands directly into your Mac’s OS, changing the way your Mac functions.
Here’s how to use Terminal to show hidden files:
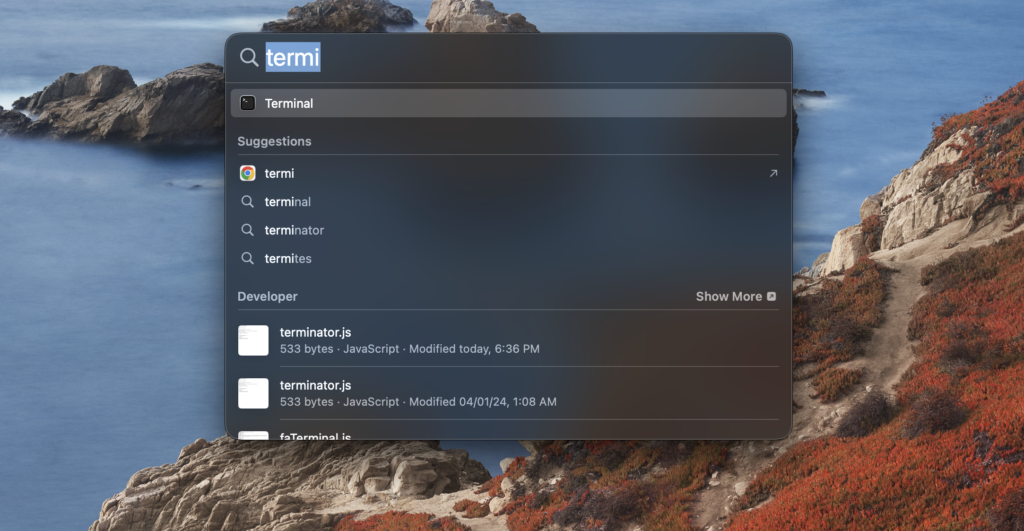
- Click Spotlight (the magnifying glass icon in the toolbar or in Finder) and search for Terminal. Click the Terminal app, which should be the first result. Or, open Finder and navigate to Applications > Utilities > Terminal.

- In the Terminal text box, type the following script: $ defaults write com.apple.Finder AppleShowAllFiles true. This instructs Finder to reveal all of the hidden files on your Mac.
- Press Enter to run the script, then type $ killall Finder in Terminal and press Enter again. This will restart Finder and apply the changes you made.
- Now, you should be able to see the hidden files on your Mac.
To hide the hidden files again, repeat steps 2-4. But, in step 2, change the word “true” to “false” in the script. So, the script to hide files on Mac will look like this: $ defaults write com.apple.Finder AppleShowAllFiles false.
